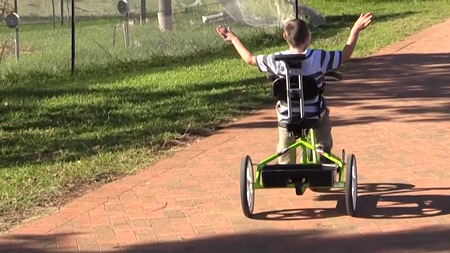
Rifton Tricycle Initial Assembly
Initial Assembly Instructions for the New Rifton Tricycle
[00:00] Components:
- Seat and Back
- Front end
- Headrest
- Front basket
- Laterals
- Abductor
- Frame
- Rear steer
- Rear wheels
[00:08] Step One: Attach Rear Wheels
Note: Parking brake must be released when installing wheels.
Slide both wheels onto the axle. Push inward on the wheels so that the axle is flush with both hubs. Match the flat side of the quick release pin to flattened tab in the axle and then insert both pins. Buttons on quick release pins must pop out to latch.
[00:32] Step Two: Attach Front End
Set the parking brake, raise the handlebar, take out the pin, align the holes and insert the pin. Button must pop out to latch.
[00:53] Step Three: Attach Seat and Back
Unfold the backrest. Install the seat and backrest. Press the trigger and lower the seat.
[01:16] Step Four: Install End Cap
(If no rear handle was ordered.)
Insert the end cap, insert the bolt and insert the nut. Tighten the nut until it stops completely.
[01:32] Step Five: Install Rear Handle
(If selected at time of purchase.)
Insert the handle, then insert the bolt and nut. Tighten the nut until it stops completely.
[01:47] Connect Rear Steer Rods
(If selected at time of purchase.)
Connect the front ball joint, connect the rear ball joint and connect the rear rod to the steering linkage.
[02:05] Step Six: Connect the Caregiver Brake
(If selected at time of purchase.)
Set the parking brake. Hook the end of the cable into the slotted bracket. Lift the cable conduit into the pocket in the brake housing.


